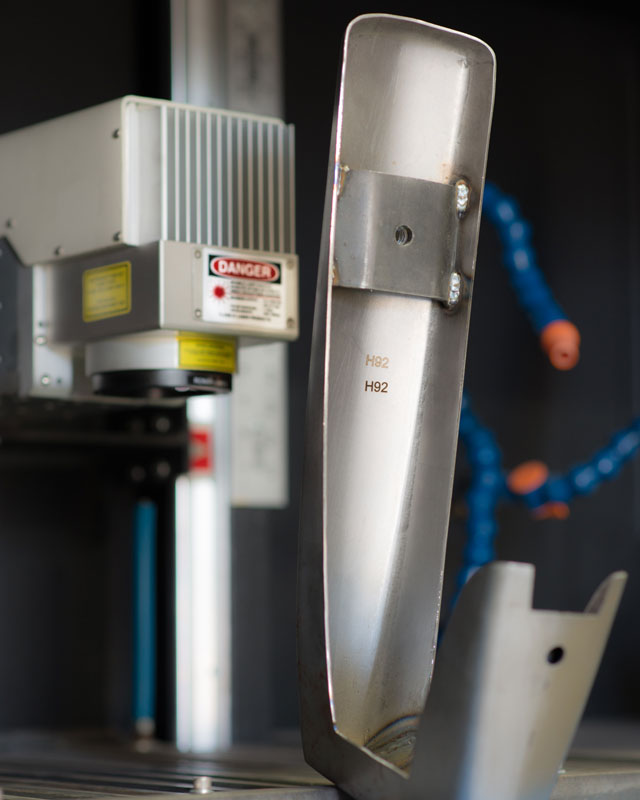
Step 1: Receiving
Your bumper is registered, processed, and evaluated for work. Each bumper is tagged and inscribed for your specific job, so you can be sure you won’t get back someone else’s parts.

We offer chrome plating for bumpers and just about any other steel or brass part you might have.
Your bumper is registered, processed, and evaluated for work. Each bumper is tagged and inscribed for your specific job, so you can be sure you won’t get back someone else’s parts.
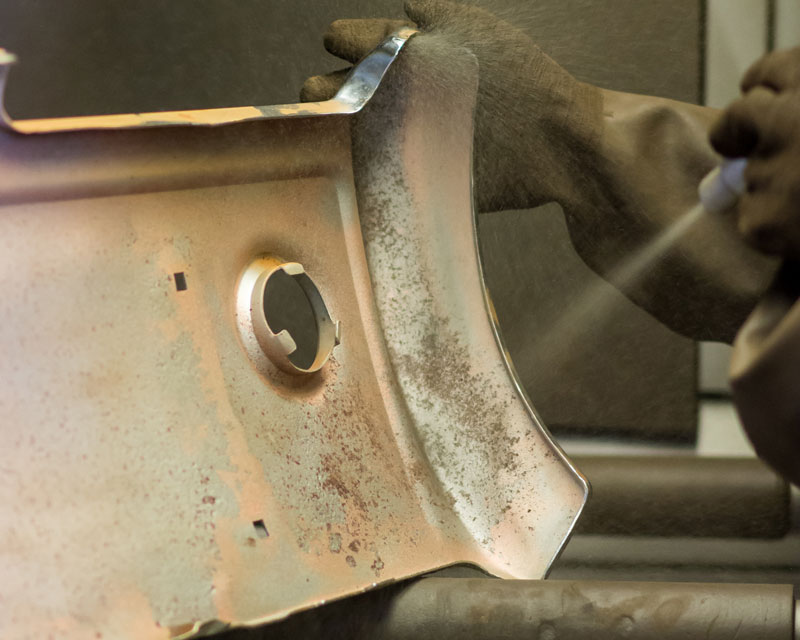
We clean off rust, paint, and other buildup so we can appraise the job. This is done in a separate facility with expert technicians, and then sent back to check-in if more work is needed.
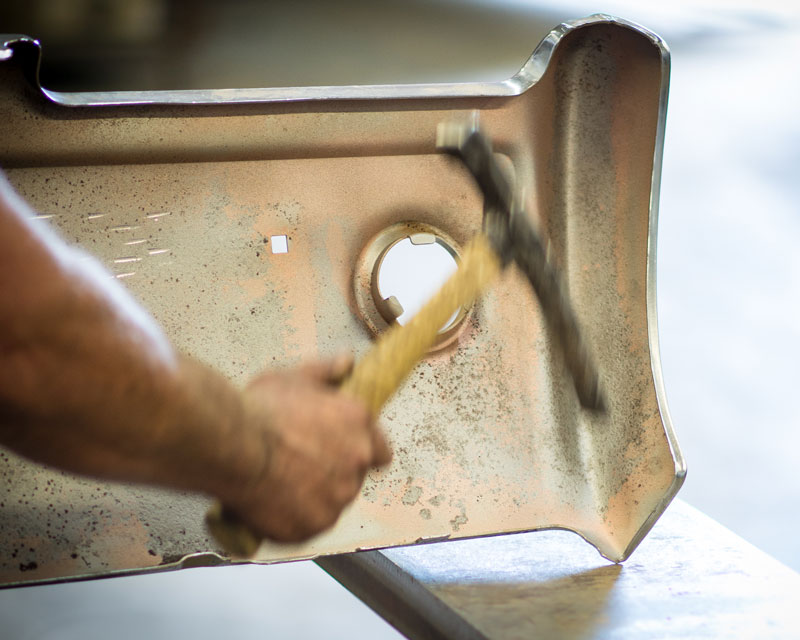
Your bumper is compared to a stock form and straightened out. We staff two dedicated straighteners with years of experience in metalwork.
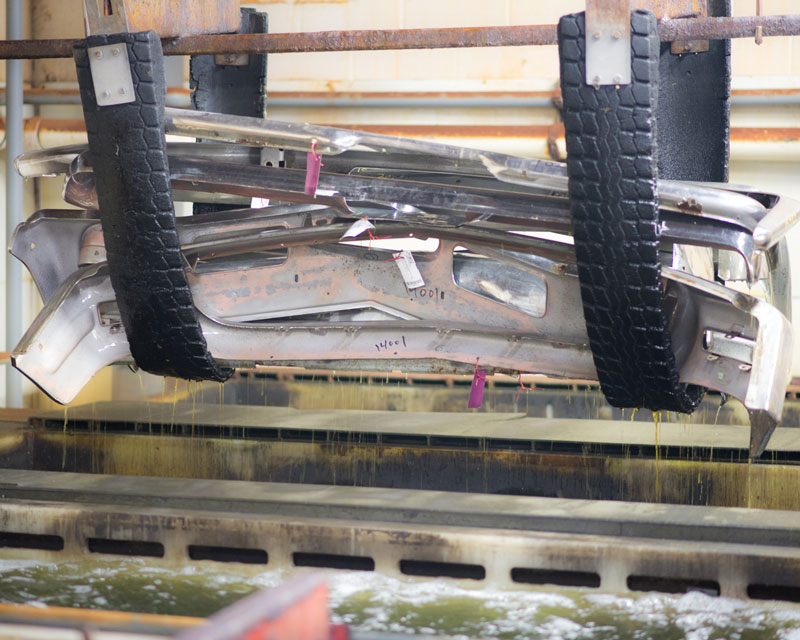
We remove any existing plating so we can start fresh. Say goodbye to that old, pitted chrome. Our fresh plating will bond better to bare steel.
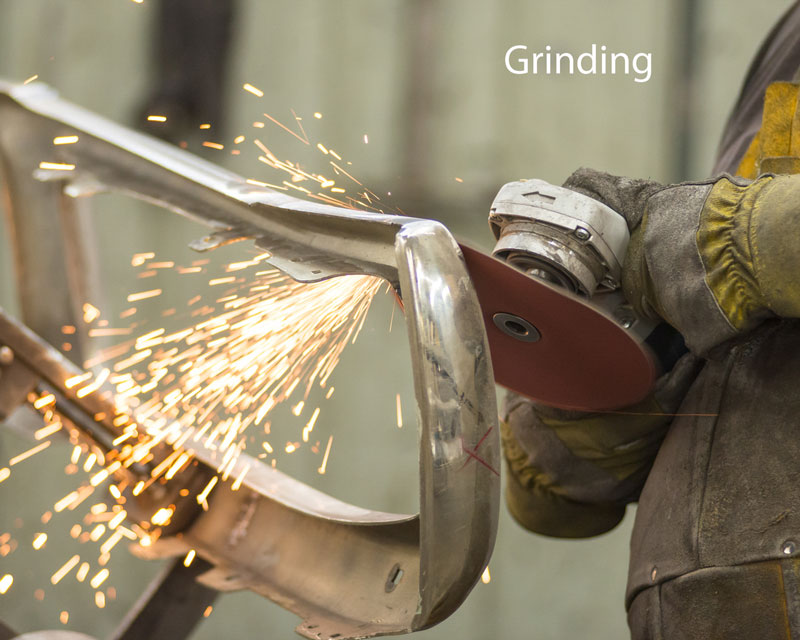
Our grinders remove marks left by the straightening team. They use rough, 60 grit grinding discs to get the process started. This will be important to the finish later.
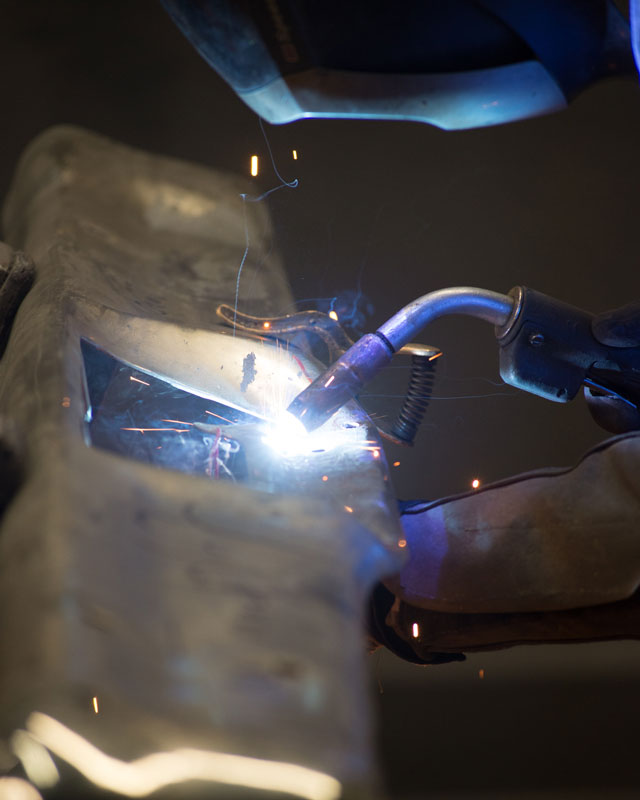
If needed, our expert welders will cut out and patch any holes that might have been left by rust or damage. Each hole is cut out and patched in a square section for precise, optimized welds.
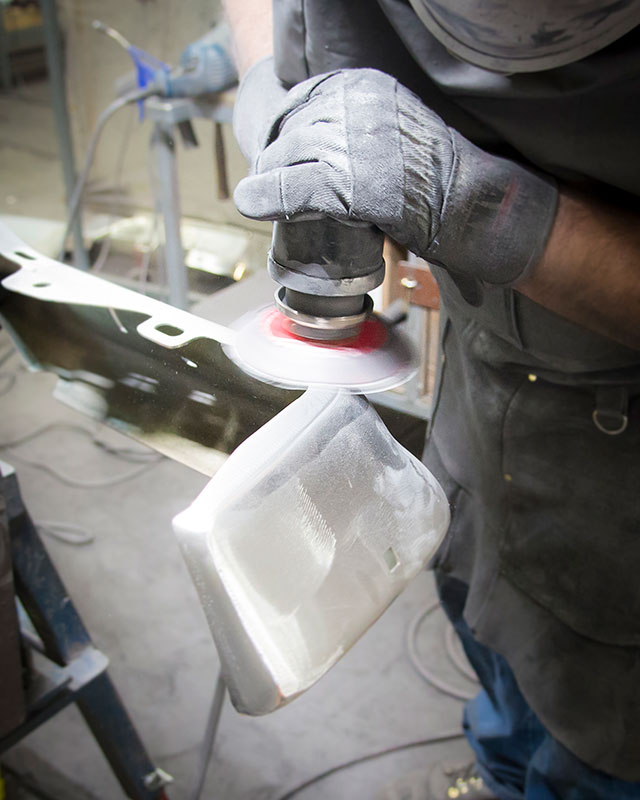
If needed, our expert welders will cut out and patch any holes that might have been left by rust or damage. Each hole is cut out and patched in a square section for precise, optimized welds.
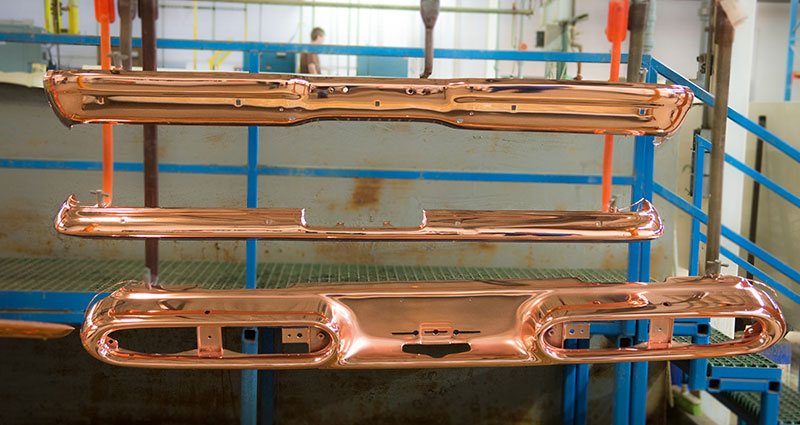
The foundation for all plating to follow. Yes, before we can add chrome, we have to add copper. This provides a great base coat that we can polish to a bright luster.
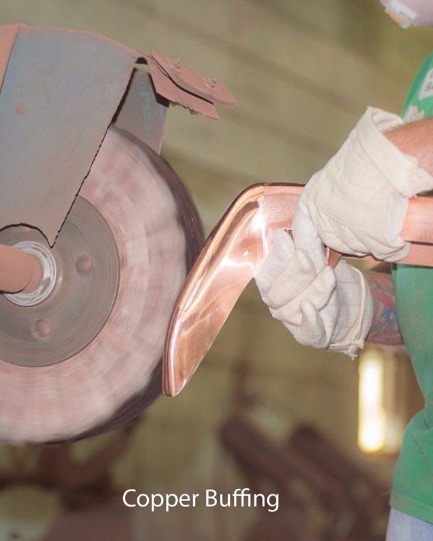
Before we can move on to nickel plating, that fresh copper layer needs to be buffed and polished to a smooth, even finish.
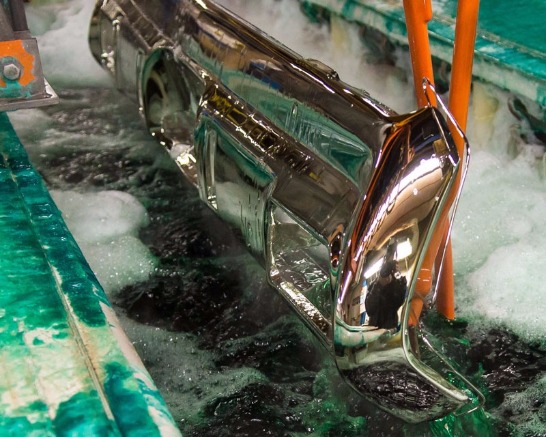
When you’re at a car show and you see a beautiful bumper, you tend to call it “chrome.”
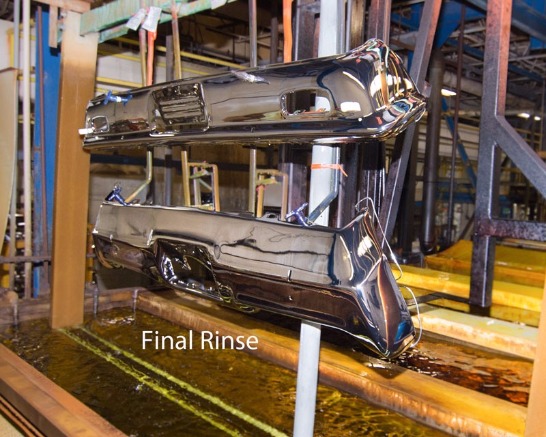
Now, finally, after ten steps of preparation, it’s time to add the chrome to your bumper.
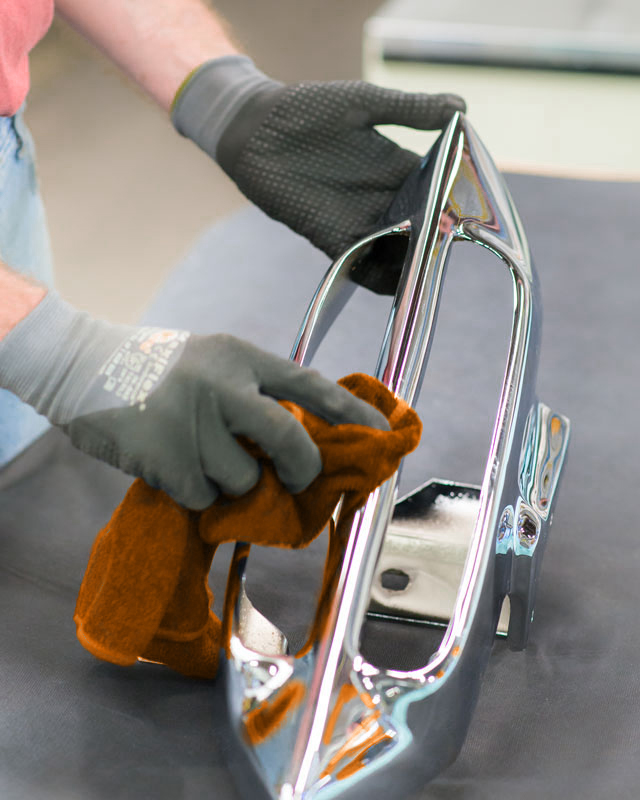
We’re almost there. Your bumper is now straight, patched, and plated, and it looks perfect, at least from a distance.