
Our Process
Our chrome plating process involves 13 precise steps, including metal plating and straightening, to restore your bumper or trim to a flawless, durable shine.
Step 1: RECEIVING
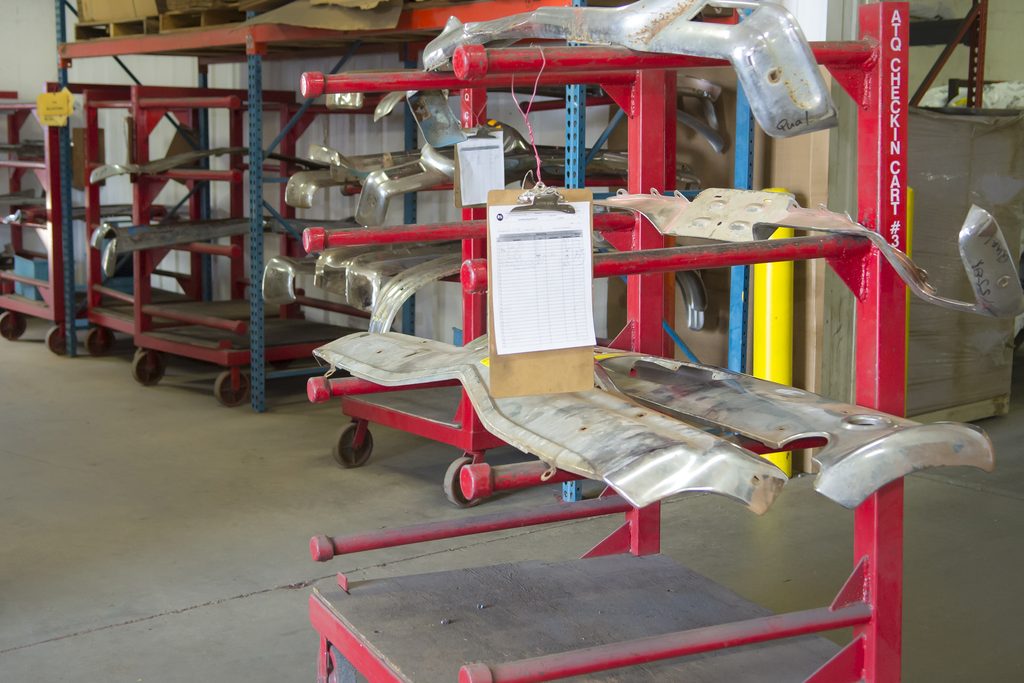
In the first of our 13 steps, we receive and check in the bumper you’ve sent us. Local customers are also welcome to drop parts off in person, and one of our sales representatives will go over your options so we can make sure the job is done exactly as you want it. Your bumper is assigned a job number and attached to a “tree,” or wheeled rack, that stays with it throughout the restoration process; the tree carries a tag with the job number, and the back of the bumper is inscribed with it as well, so we can guarantee the bumper you get back is the exact one you sent us. Before any work begins, we photograph your bumper to document its condition and any damage we’ll need to address.
Step 2: SANDBLASTING
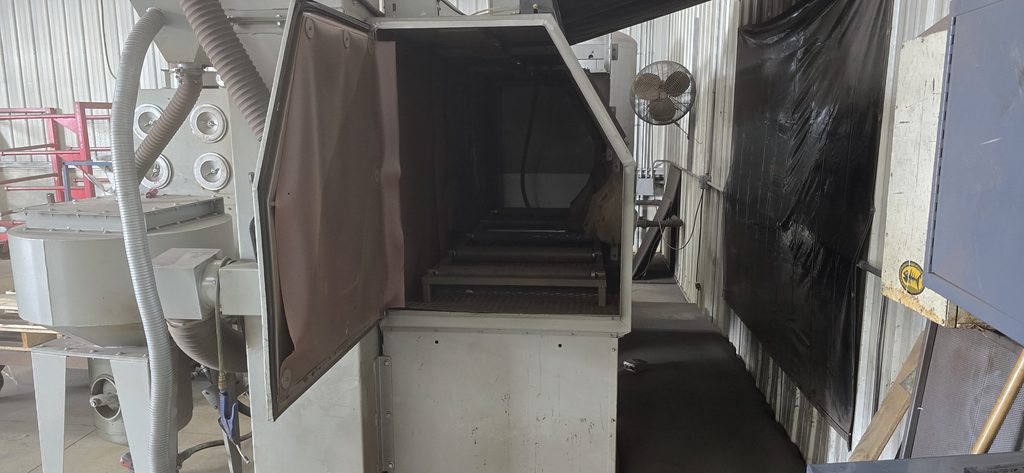
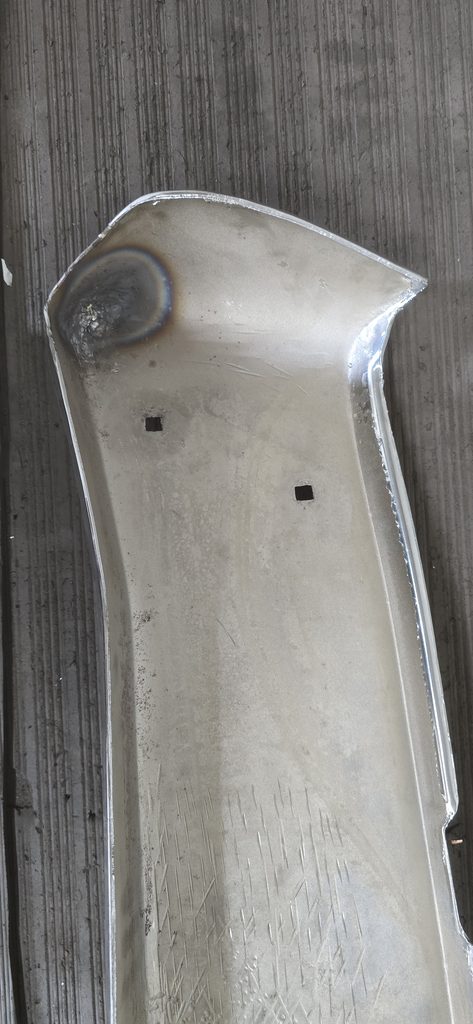
Before we can add any plating, we have to take your bumper down to the foundation. After check-in, it’s wheeled over to our sandblasting facility, where our technicians use fine-grain media to clear away rust, paint, and anything else stuck to the surface. Once it’s cleared, we can take a closer look at how much repair work is needed, if any. That clear view also helps us put together an accurate estimate, which we’ll get to you quickly. Next, we’ll send it to straightening.
Step 3: STRAIGHTENING
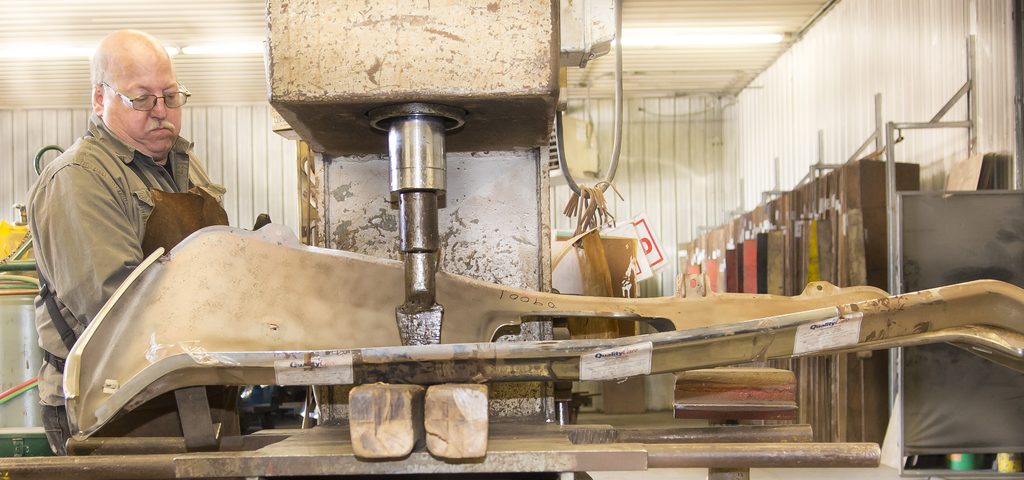
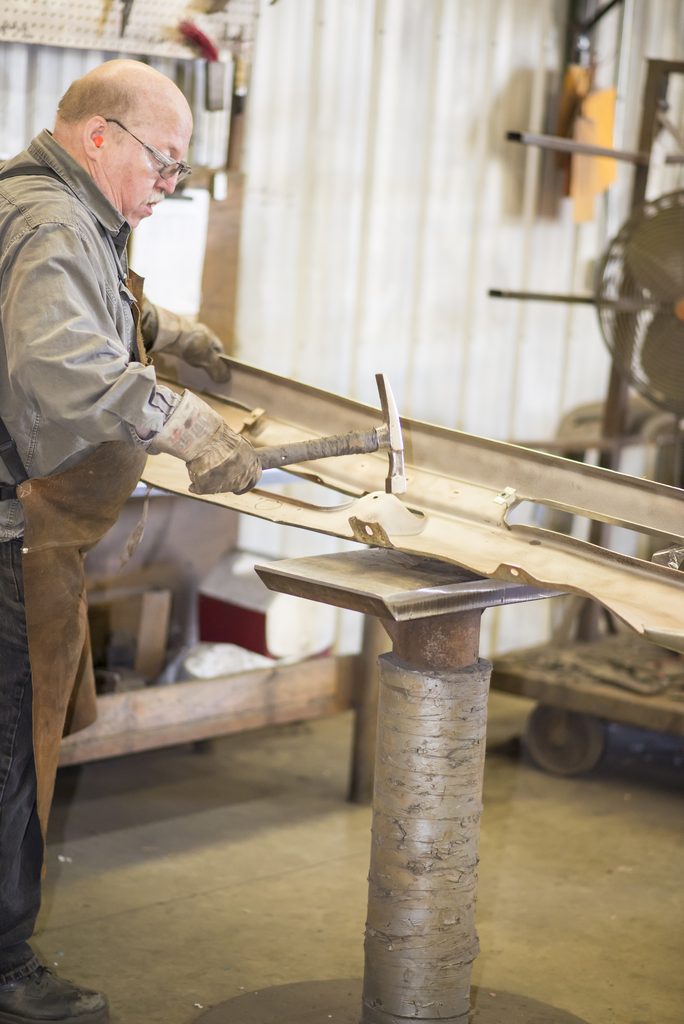
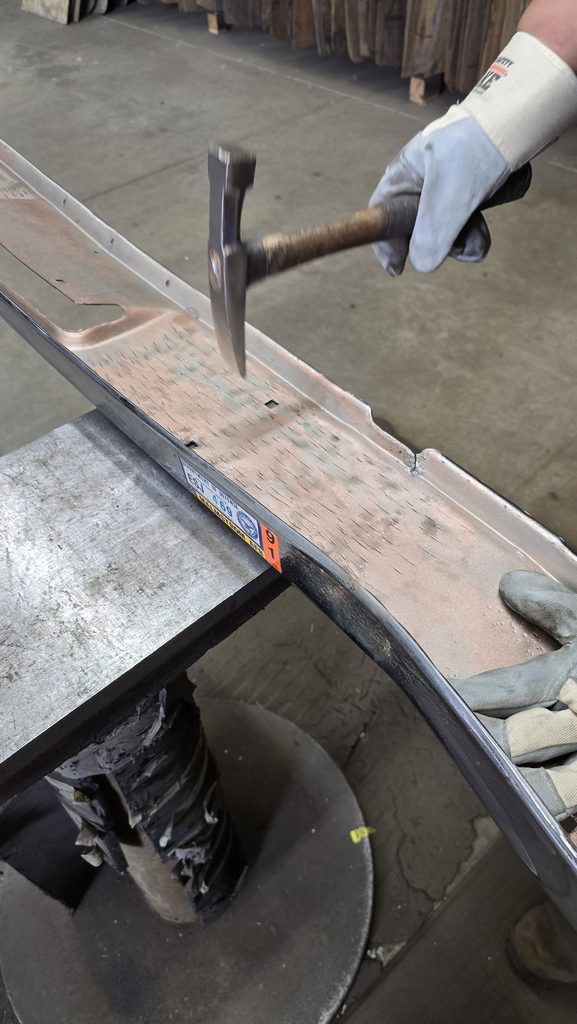
After 50 or 60 years, it’s not unusual for a bumper to need some straightening, even if it’s something you haven’t noticed yourself. We straighten every bumper that needs it before it moves on to the next step. Our team compares each piece against a wooden form built to the original factory specs, and our two dedicated straightening techs use a combination of hammers and a hydraulic press to carefully work out every dent and ding. Next, your bumper will head to the stripping stage.
Step 4: STRIPPING
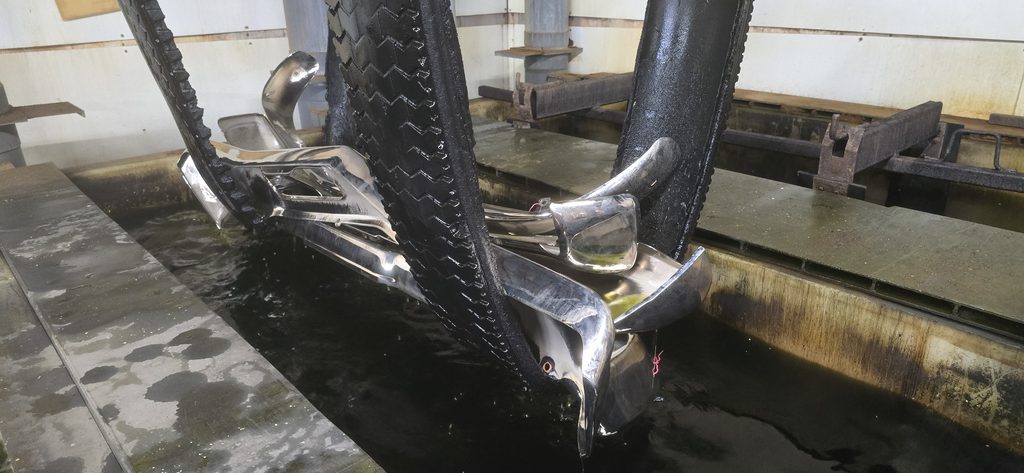
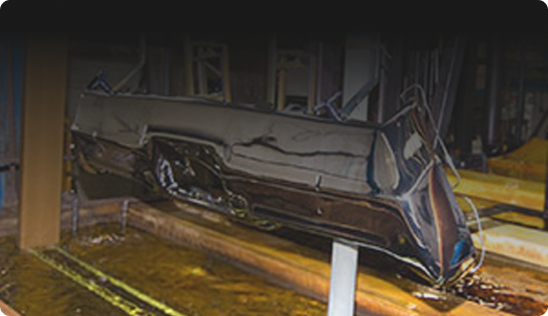
Sandblasting only gets your bumper partway down to bare steel. Stripping finishes the job: your bumper takes an acid bath that removes the old, scratched, pitted chrome from the surface and takes it back to bare steel. But bare steel rusts very quickly, so afterward we dunk your bumper in an anti-rust solution to prevent any oxidation from forming as it travels through the rest of the facility. The next of those steps is grinding.
Step 5: GRINDING
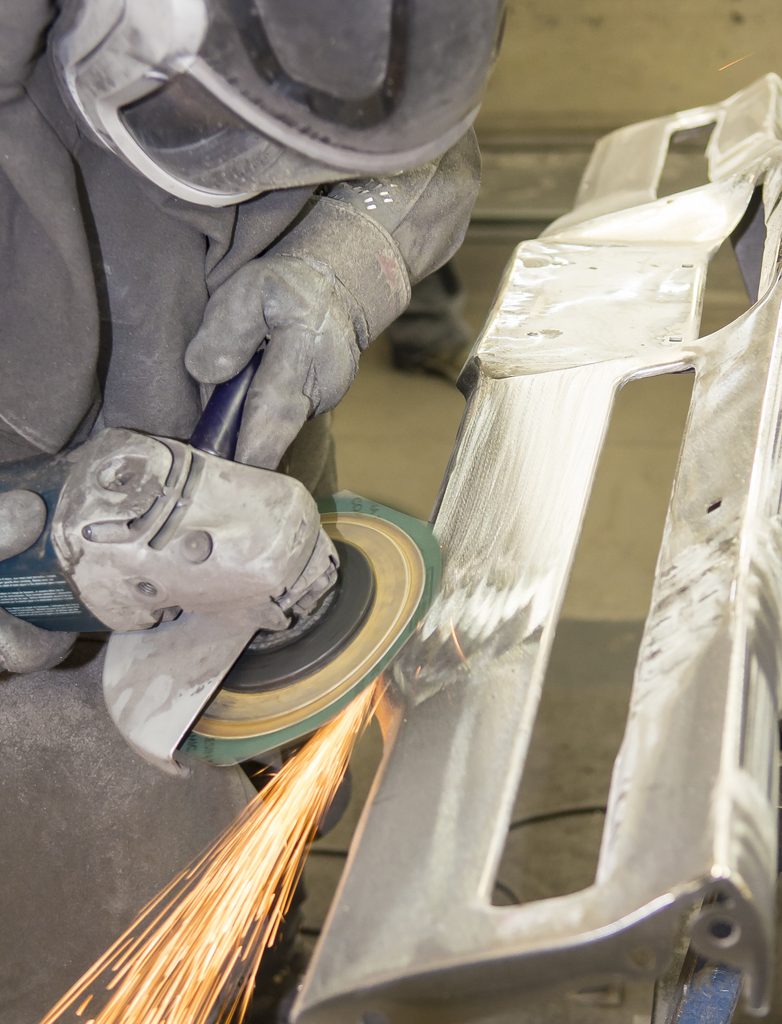
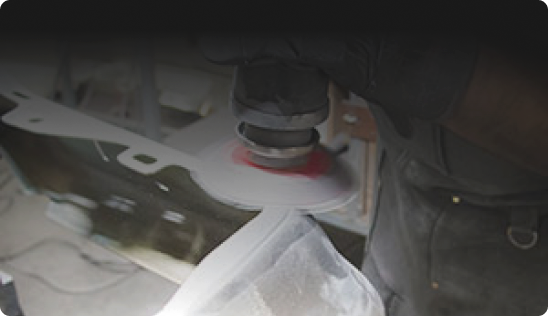
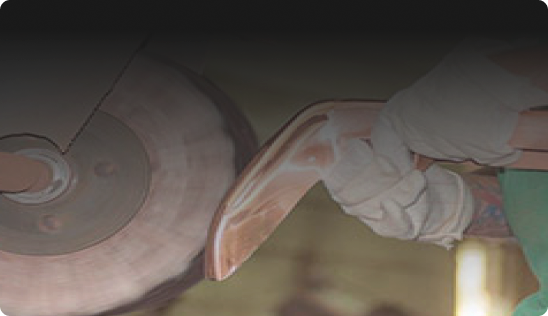
We have a team of grinders on staff, armed with professional-grade power grinders. Their job is to smooth out the marks left behind by the straighteners’ hammers and press. Working with 9-inch, 60-grit grinding discs, they smooth out the larger imperfections that would otherwise show through the chrome, even though we’re still several stages away from plating. This step is key to getting that famous, flawless North Star shine, and we wouldn’t dream of skipping it. The next step, if needed, is patching.
Step 6: PATCHING
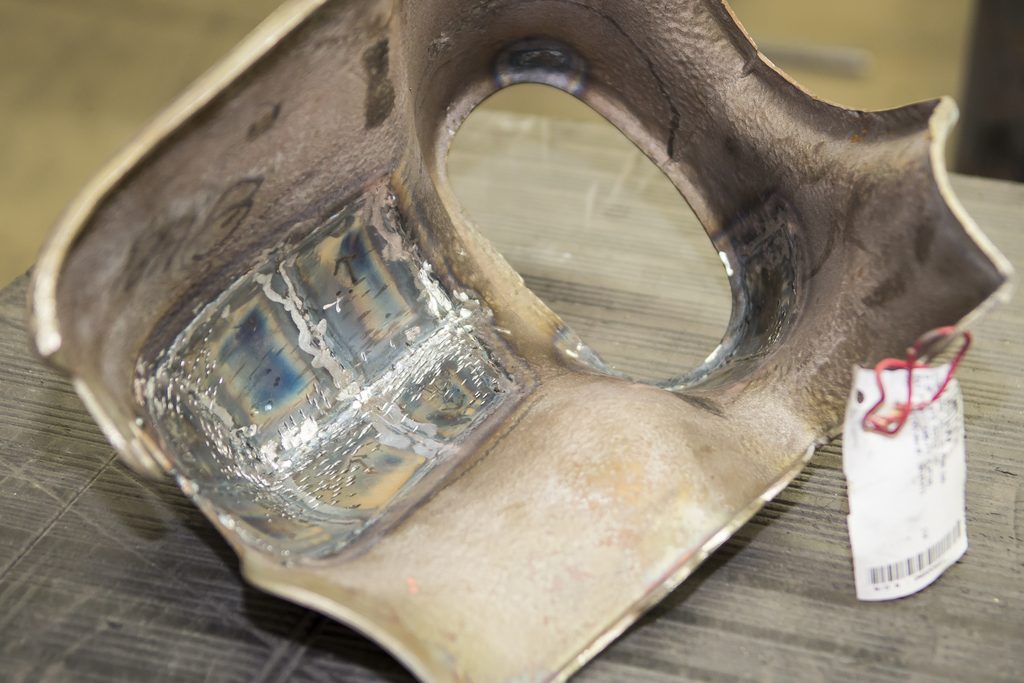
There aren’t many steps in our process that we can skip, but sometimes we can skip this one. Only if it’s needed, this is where we’ll patch existing holes in your bumper, whether they rusted that way or were punched into it. Our crack team of fabricators will cut out the offending section of metal, shape and cut a new piece to fit, and weld it back in, using only the finest welding techniques to keep the “stitches” small and easy to erase. Some welding evidence will still remain after this stage, which is why we’ll send your bumper back to the grinders, who will polish those ridges down into a flush, even surface. Once that’s done, it’s on to the next step: polishing.
Step 7: POLISHING
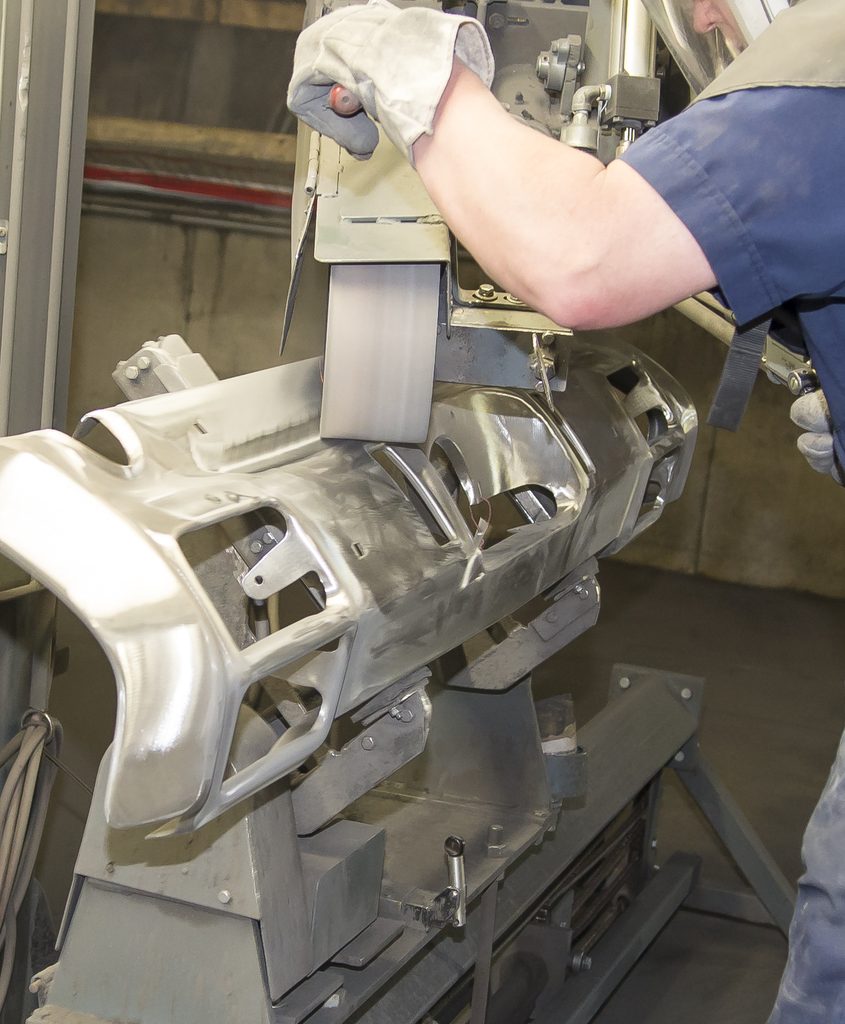
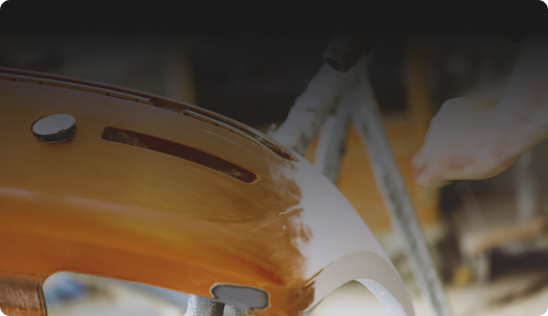
Remember, your bumper at this stage is still bare steel, and no one will ever see it in this state. But since scratches, pits, and other imperfections can still show through the plating, now is the time to polish them out. Our dedicated polishing team uses belt and palm sanders, starting with coarse sandpaper and moving to finer and finer grit, to carefully work the steel until it shines. Just as the grinders had to work out the marks left by the straighteners, the polishers have to get rid of the grinding marks. They then condition the metal to prepare it for the next stage: copper plating.
Step 8: COPPER PLATING
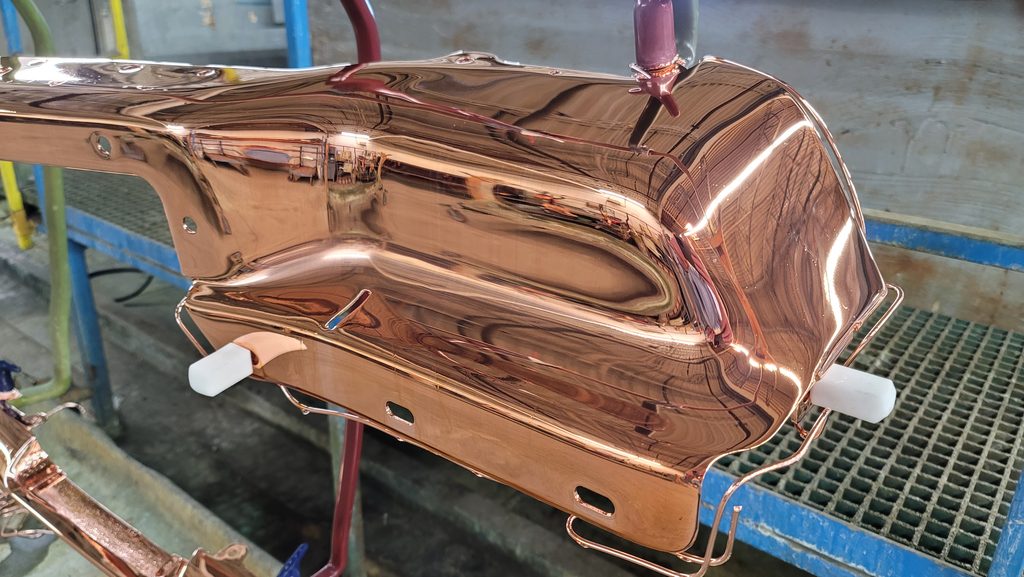
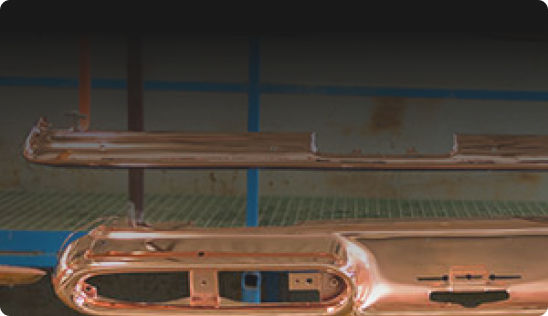
Before it goes in the tank, we put it through a 4-part cleaning process to remove any particulate from the surface. Then it’s electroplated with 1/1,000th of an inch of copper combined with some organic brighteners, and comes out looking like a new penny. Just as the grinders fixed the straighteners’ marks, and the polishers fixed the grinders’ marks, the copper fills in the polishers’ marks and creates an excellent base coat for our next layer. But before then, we move your bumper off for copper buffing and polish.
Step 9: COPPER BUFFING & POLISH
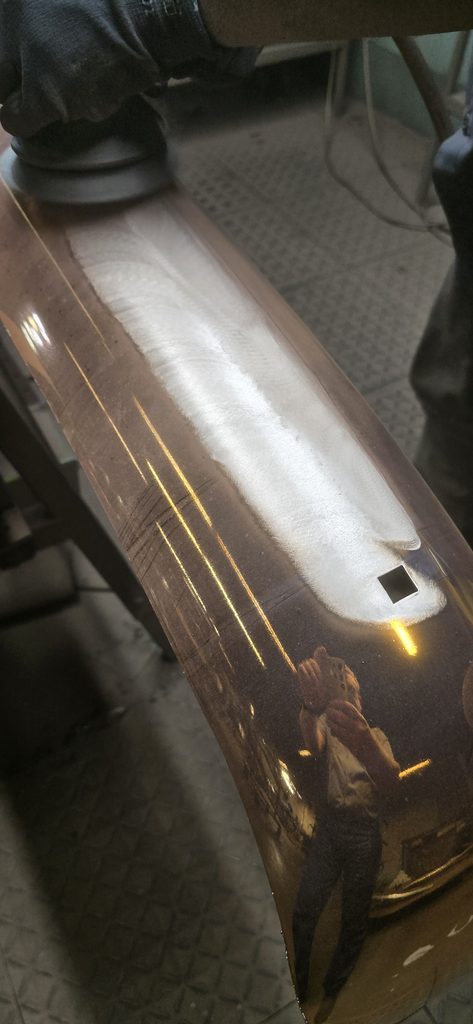
Before we can move on to nickel plating, that fresh copper layer needs to be buffed and polished to a smooth, even finish. Our team works the copper surface carefully, because any imperfection left behind here will show through every layer applied on top of it. It’s a step most people never think about, but it’s what sets up the deep, mirror-like shine of the finished chrome. Now that the copper is polished, we’re ready to move on to nickel plating.
Step 10: NICKEL PLATING
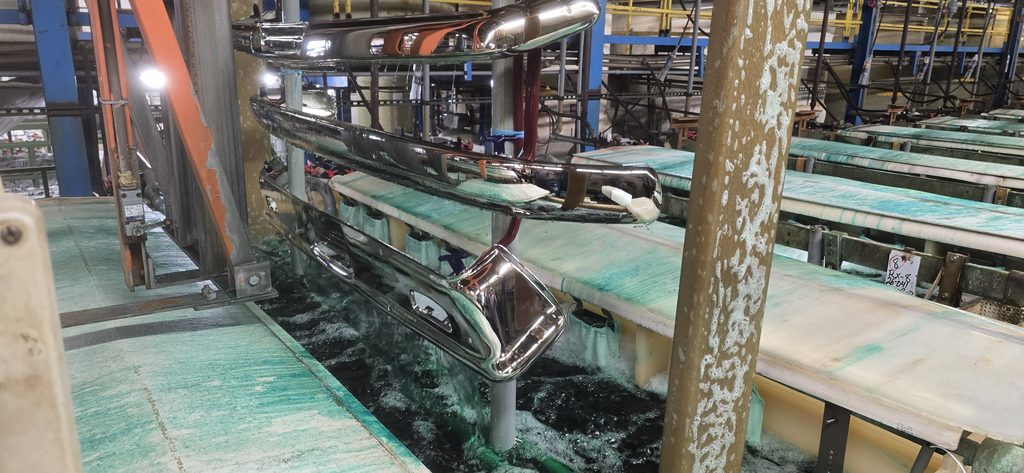
Now that the copper is polished, we start with a “strike” layer of nickel, which is bare and less lustrous but provides a good bonding coat. Next we add a “semi-bright” layer, which isn’t quite a mirror finish. We finish the nickel process with a “bright” layer, which is nickel combined with several organic brighteners; when it emerges from the tank, it has a perfect mirror finish. Now, finally, we’re ready to chrome plate your bumper.
Step 11: CHROME BATH
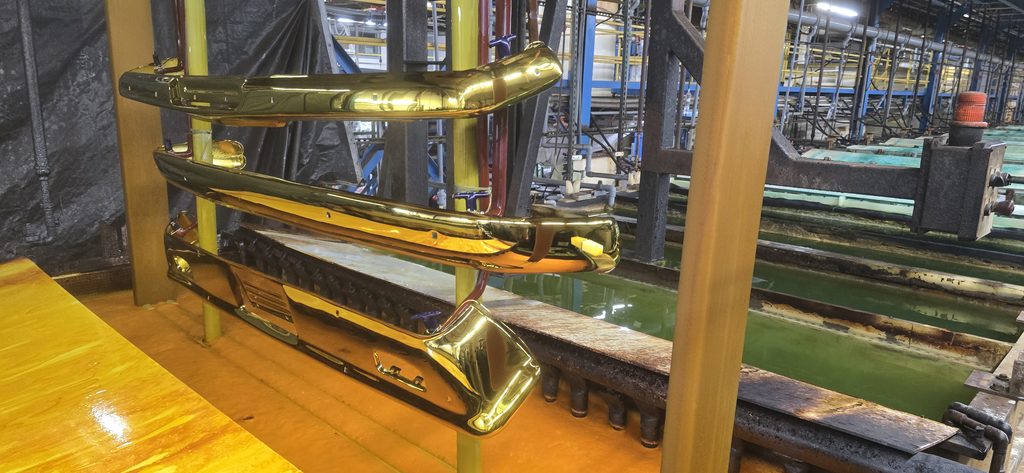
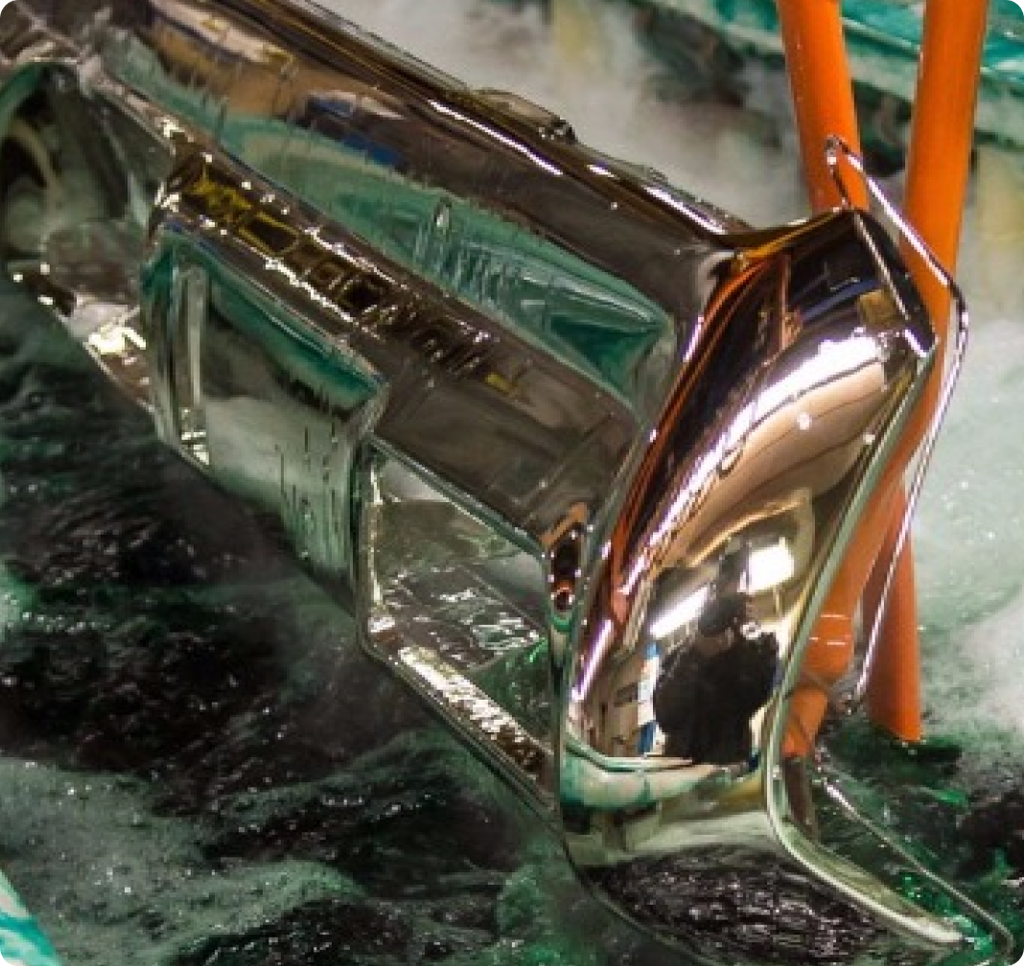
Now, finally, after ten steps of preparation, it’s time to add the chrome to your bumper. It takes about 90 seconds: like the copper and all three layers of nickel, the chrome is electroplated onto your bumper. The layer is extremely thin but very hard, meaning it can help protect the nickel underneath and keeps it from tarnishing.
Step 12: QUALITY CHECK
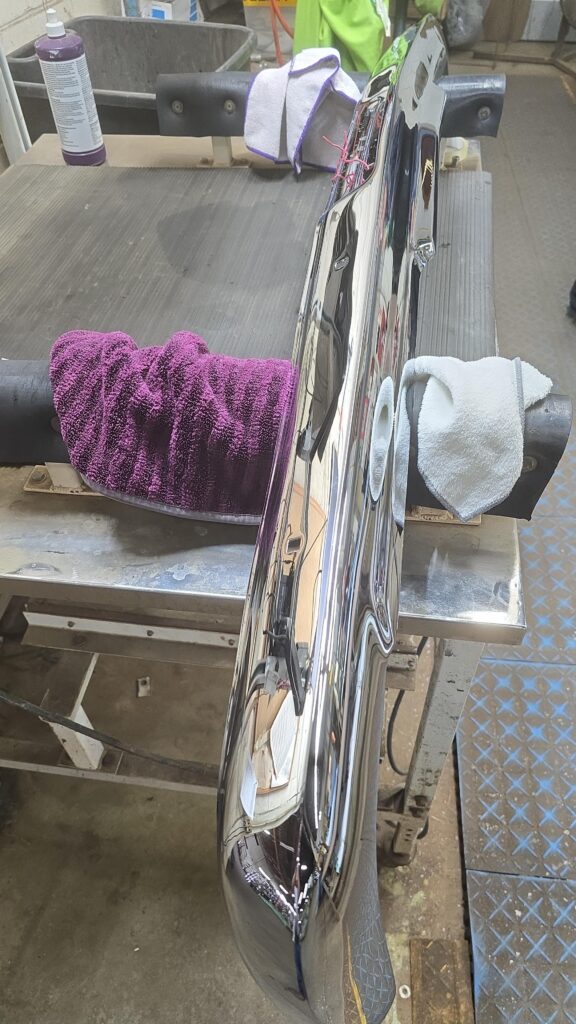
Your bumper is now straight, patched, and plated, and it looks perfect, at least from a distance. But we want to make sure it looks great up close, too. Very close. So after the chrome is added, we send it over to our quality check inspection bench, where three dedicated inspectors hunt down imperfections. They search every inch of your bumper for dents, scratches, and the tiny pits that can often show up with chrome plating.
Step 13: SHIPPING
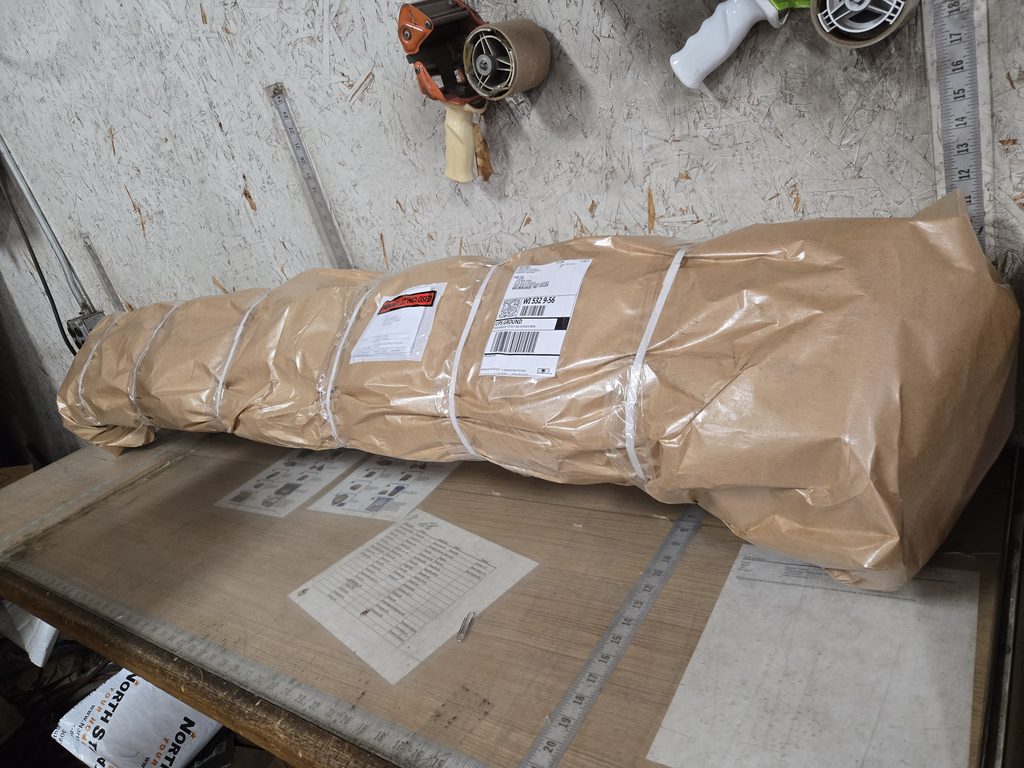
Once your bumper has been painstakingly inspected, it is carefully, thoroughly wrapped, boxed, and sent back to you via UPS. If you dropped your bumper off here in person, you can, of course, come back in to pick it up.
Our Process
Need a chrome estimate?
Now you have seen the level of care and detail that goes into the chroming process, are you ready to get started?
Our Process
Customer Form Required Before Shipping
Download & fill out the “Customer Information Form” above before sending your bumpers, hood ornaments, etc. to be restored. This is for all customers of North Star Plating.